
Friday, September 19, 2008


Tuesday, September 16, 2008
New way to take photos
When I took these photos, I intentionally move the camera to have special effects. It is really effective when there is light of lamp or candle :). Enjoy and have fun


My lovely Hamster :D
I love my hamsters very much and I have taken many beautiful photos of them. I want to show you guys some of my works.

 Continue slide show:
- Be Map is drinking :)

- A "beautiful" sleeping figure :>
 - ....eating

Little hammies:
Continue slide show:- Be Map is drinking :)
- A "beautiful" sleeping figure :>
- ....eating
Thursday, August 21, 2008


Tuesday, August 19, 2008
PS practice 1
I used brush to create this one:


After that I combined these two pictures and this is the final image:

and blending effect along with filters:


Monday, August 18, 2008
Sunday, July 27, 2008
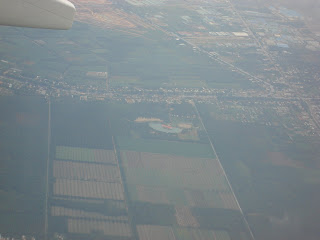
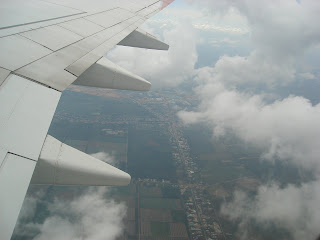
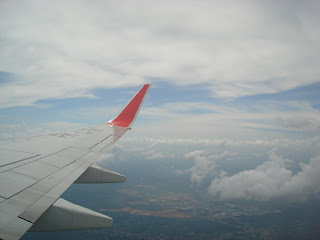
Photos from the plane
I took some photographs when I was on my flight to Singapore. It was so interesting and amazing with the feeling that I was on a plane, far from the land :) (but really I was quite scared a little bit ;P due to the height. Yeah that's true, especially when I thought about accidents of planes hah. However, I still really enjoyed taking photos from the window of the plane. It is really beautiful, I think). Here are some works of mine. You guys please take a look at them and let me know you opinion :)). Thanks!


Sunday, July 13, 2008
Abstract background by PS
 I searched on the Intrernet and found out a good tutorial about opacity mask. I think that you guys can do a lot of interesting things through this one such as background, decoration, etc.
The steps to do it:
- Draw a shape with tool of your choice. I drew it by Pen tool.
- Effect > Distort and Transform > Transform and type (but you can change these settings depending on your shape and how it looks)
+ Scale: Horizontal = 75%
Vertical = 75%
+ Move: Horizontal = 0.25 in
Vertical = o.5 in
+ Rotate: Angle = 45 degrees
+ Copies: 5
+ 9-point Proxy (the box with nine points above the Random checkbox): Check the middle right checkbox on the 9-Point Proxy
- Object > Expand appearance
- With the shape still selected, create a Radial Gradient from the Gradient Panel. Keep the swatches of the gradient the default Black and White and take off the stroke if there is one.
- Draw a rectangle with the Rectangle Tool (m) that encompasses the transformed shapes. Take off the stroke, fill it with a color and send the rectangle to the back
- Select the rectangle and transformed shapes and select Make Opacity Mask from the pop-up menu of the Transparency Panel
Now you have abstract art.
Hope you enjoy it ^-^!
Thursday, July 10, 2008
Designer and 3 works
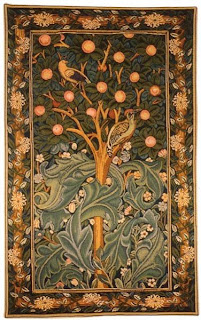
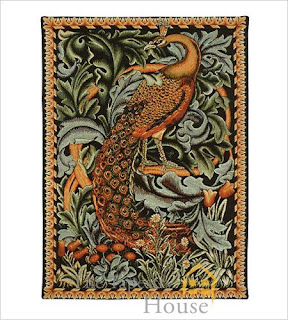
I will write an essay about William Morris. These are his three pieces which I choose to discuss about:
1. Medieval Beauty: The Tapestries of William Morris
2. Queen Guinevere
3. The Forest (Peacock detail)
1. Medieval Beauty: The Tapestries of William Morris
2. Queen Guinevere

3. The Forest (Peacock detail)
Subscribe to:
Comments (Atom)